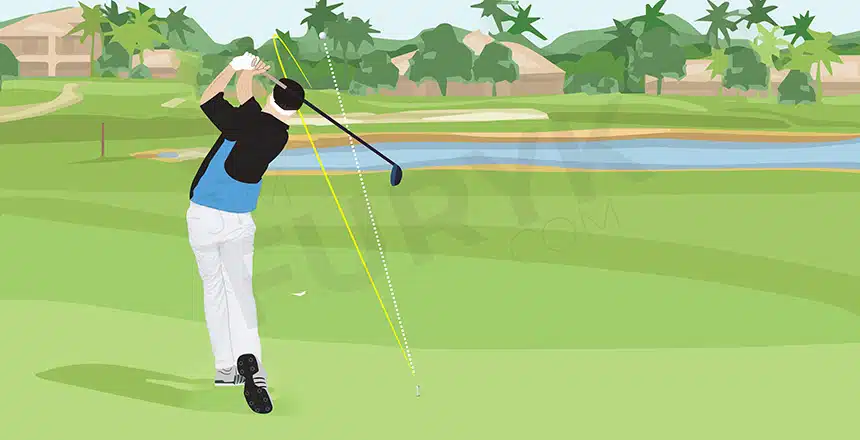
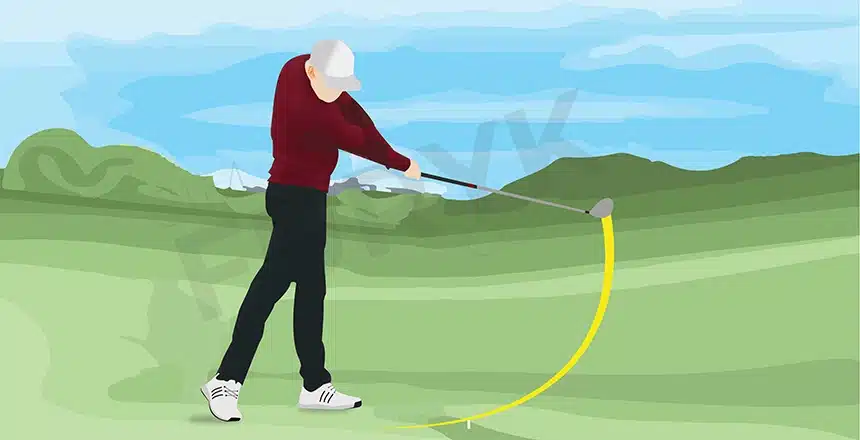
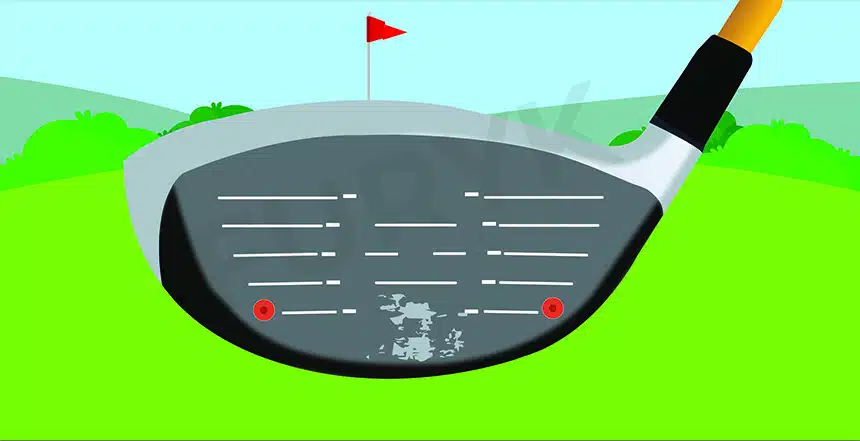
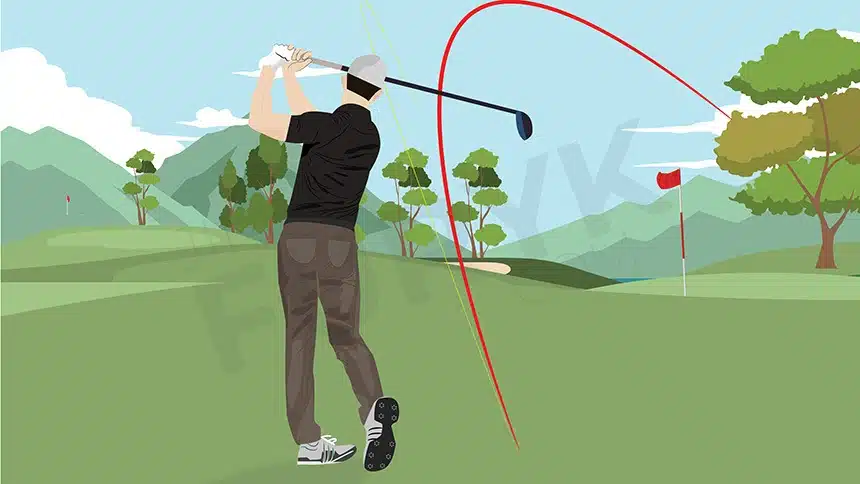
You may resort to re-gripping your golf clubs once you have troubles with consistency, accuracy, and distance on your swing. The grip is the only contact point between your hands and the golf club shaft.
You can clean your club’s grip once in a while when needed. But when cleaning alone does not restore the tackiness, it is probably time to re-grip your golf clubs. The loss of surface tack will leave you gripping the shaft firmly. It may result to inaccurate swing or the loss of power and control.
But there are more reasons you need re-gripping. We will show you the step-by-step process how to re-grip golf clubs and other tips.
In This Post
Why Should you Regrip Your Golf Clubs?
The grip is one of the most crucial components in golf: It is the part of the golf club that you touch. Grips, like any other materials, suffer wear and tear with time. The material of the grip aged through time: The early tear & wear may be due to oils, ozone, and dirt on your hands.
Once your grip degrades, you will lose control and traction on the club, resulting in poor performance on the course. Re-gripping your club is an inexpensive and fast way of rejuvenating a fresh set of grips: putting you back in better dispatch on the game. A proper golf grip also boosts your golf swing.
When Do you Need to Re-grip Your Golf Clubs?
A worn out grip may not appear visually by just staring on it. But if you look closer and feel the grip, you may notice the change in texture or quality as you grasp it. The feel might not be the same as before. When you feel uncomfortable with the grip anymore, you might replace the club with a brand-new one or re-grip it. Make your choice.
However, many golf experts suggest that you re-grip your golf club once a year or every 40 rounds: whichever comes first. But it all depends on your needs: these are only guidelines. Your golf grip may have shorter or longer life depending on how you use and care for it.
How to Choose Golf Grips to Re-grip a Golf Club
Here are some of the parameters you should consider in choosing the golf grips for re-gripping your golf clubs.
Grip-Size
- Considering your hand size
Determine the size of your palm before choosing the proper grip for your hands. You can choose among the oversize/Jumbo, midsize, standard, and the undersize/Junior grips. When holding a golf club for a swing, your fingertips must touch the base of your thumb gently. If not, you have large hands (or palms).
You can determine your grip size by measuring the crest in your wrist to the tip of your middle finger (in inches).
Golfers with more than 9-¼ inches hands length should prefer the oversized grip. Although there are slight variations in grip measurements from different manufacturers, here are the standards used by golfers.
- Undersize/Junior: less than 7 inches
- Standard: 7 inches to 8 3/4 inches
- Midsize: 8 1/4 inches to 9 1/4 inches
- Oversize/Jumbo: longer than 9 1/4 inches
- Considering the grip diameter
The Standard diameter range of golf grips is between 0.580 and 0.600 inches. Some manufacturers vary grip sizes: but they fall into one of the five sizes described below. These are the standard diameters of golf grips for their respective grip size.
- Junior: come in various sizes but smaller than standard.
- Undersize: 1/64-inch smaller than standard.
- Midsize: 1/16-inch larger than standard.
- Oversize/Jumbo: 1/8-inch larger than standard.
Texture
Not all golfers have the same feel on their clubs especially when using gloves on their lead hand. A glove can enhance your grip, but your club should have the right texture conforming to your touch and feel.
Firmness
Many better players used firm grips with a lighter pressure for stability. They do not want soft grip because it provides uncontrolled torque, especially at higher swing speeds. But for low speed swingers they prefer soft and tacky grip for less stress on the hands.
Types of Golf Grips
Here are the four general categories of golf grips.
Wrapped
These grips are authentic leather: however, some manufacturers combined it with synthetic ones to form a wrapped mold design. Most synthetic materials are more resilient to changes in humidity and extreme temperatures.
Rubber
Rubber is the most common material for golf grips. It is inexpensive but comes with different qualities. High-quality rubber grips offer stability with a feel in-between soft and firm.
Corded
Corded grips typically have course feel and more adaptable in adverse weather. Golfers playing in humid weather favored this grip type because it wicks away moisture into the slits between cords. High swing speed players prefer this grip.
Hybrid
Most hybrid golf grips have soft rubber on the lower part while a firm cord layer on top. The combination of materials is ideal for golfers with different feels on fingers and palms.
How to Choose Grips Tape to Re-grip a Golf Club
You need a grip tape to re-grip your golf club. Choose a double-sided grip tape either with a ¾-inch or 2-inch width. If you use the ¾-inch tape; wrap it in a spiral pattern from the top of the shaft; up to the spot where the bottom of the new grip will rest. If you use the 2-inch thick grip tape, it can be applied lengthwise.
How to Re-grip Your Golf Clubs at Home
Once you have chosen the type of golf grip you desire, it is time to make a move: re-gripping time! But first, you will need to prepare the following tools and materials:
You will need the following:
- Grip solvent (or adhesive)
- Vise grip (optional)
- A box cutter or a hooked blade
- A two-sided grip tape (3/4-inch or 2-inch width)
- Odorless mineral spirits
- A piece of cloth or towel
- A golf tee (optional)
- A tray
Step-by-Step process of re-gripping your golf clubs
Do the following steps carefully, and you will be done in less than 30 minutes while at home!
1. Securing the Shaft.
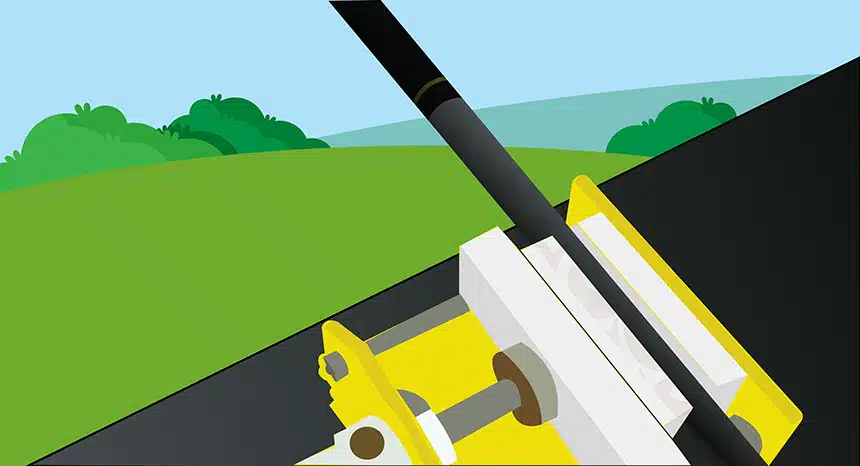
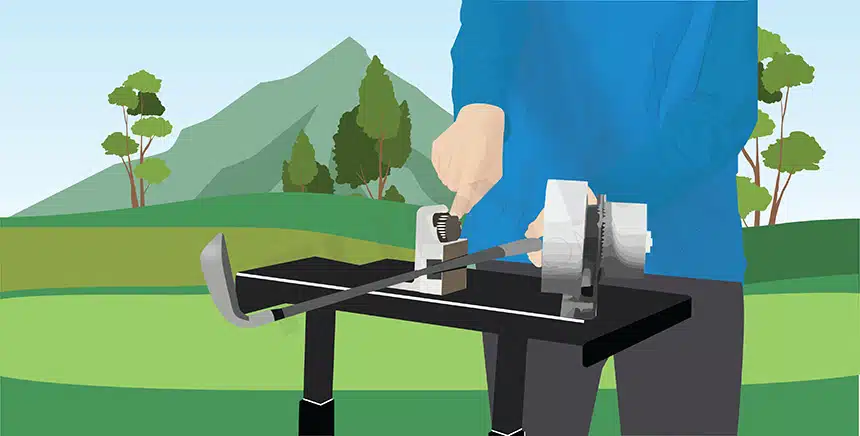
Position the clubface perpendicular to the floor, as in a playing posture: clamp it using the vise grip. The clamp makes sure the club will not rotate or move. Clamp the golf shaft near the bottom end of the grip. If your club shaft is graphite, be careful pressing it on the vise grip.
A vise clamp with a protective rubber is ideal to avoid damages on the shaft. It may damage the golf shaft once you press too tight if your clamp does not have rubber protection.
2. Removing the Old Grip.
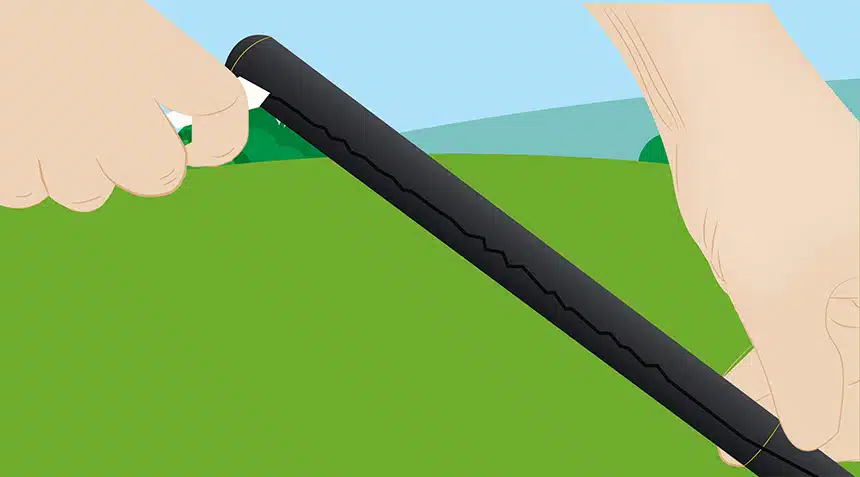
Once the shaft is well-secured into the clamp, you can prepare to cut the old grip. Grab your hooked blade carefully and proceed with the next step.
Cutting off the old grip
Using a hooked blade, remove the old grip by cutting underneath the mouth of the worn out grip. Ensure that the blade seats under the mouth, then push away with enough pressure. Be careful doing the cut and ensure to cut away from your body. Once cut: peel or scrape off the frayed grip and tape.
Clean the residue using a solvent
Once the old grip is peeled and scraped: what remains might be some fiber or residue. Use a piece of cloth with the odorless mineral spirits grip solvent to removing the remnants.
3. Make a Measurement and Apply Grip Tape.
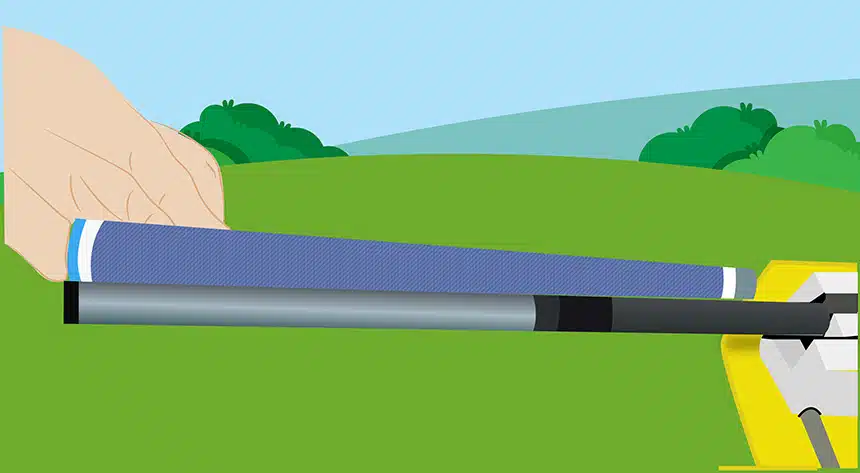
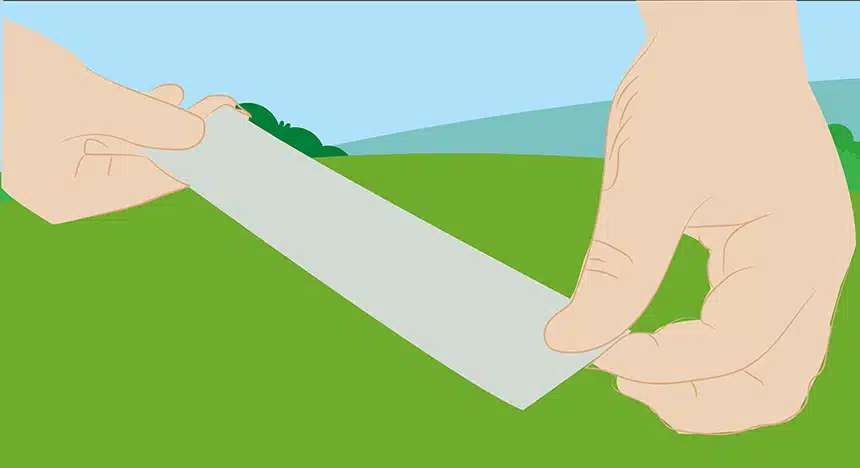
You can determine the length of the tape needed by sizing up the new grip. Place the new piece parallel to the shaft (clamped to the vise) to measure how long you need taping. When using a 2-inch-width grip tape, cut it lengthwise the same length as the new grip. The double-sided tape should be precise in length, not too long or short. However, leave a little bit of an overhang (about half inch) when you put the tape on. This will ensure that no strap hangs out at the end of the grip when you are finished.
Install the two-sided tape smoothly, but ensure that it has no wrinkles or bubbles. Next, wind up the stripe at the end of the shaft to make sure there is no tape hanging out.
If you are using a ¾-inch grip tape, wrap it in a spiral fashion starting at the top of the shaft; until it reaches the spot where the bottom of the grip will be on the rod. Pull out the tape backing and encase the shaft end with extra tape.
The best golf grip tapes recommended by many golfers are the GolfWorks Double Sided Grip Tape Golf Club Gripping Adhesive and the SAPLIZE Golf Grip Wrapping Tapes.
There is a more environment-friendly method of re-gripping your golf club instead of applying solvent chemical like the next step. You can use compressed air instead. We will discuss it later.
4. Cleaning with Mineral Spirits Golf Grip Solvent.
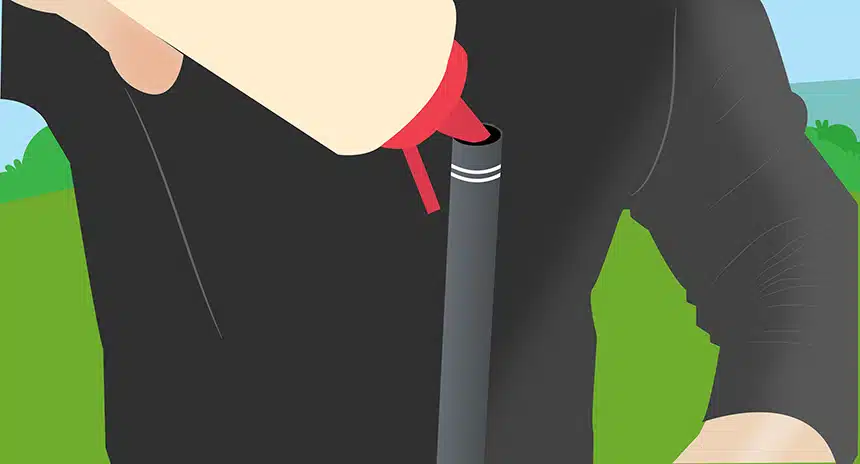
Grab your new grip for cleaning the interior with mineral spirits golf grip solvent. Cover the hole at the end of the new grip with a golf tee or your finger.
Pour an ample amount of solvent inside the grip. Close the open end with your hand when it is almost half full with solvent. Shake it gently to disperse the chemical to clean and coat the inside of the new grip.
5. Pouring Mineral Spirits Over
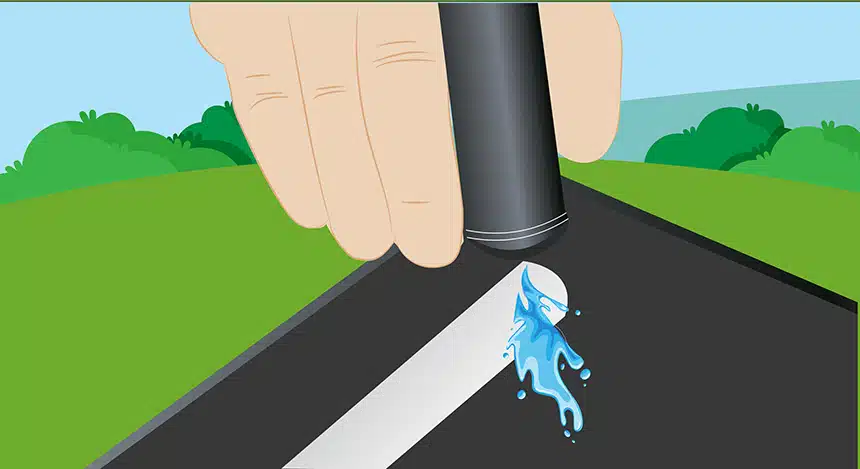
After shaking for about 3-5 seconds, get a tray, and pour the excess chemical over the length of the two-sided tape. The tray will catch the dripping liquid chemical. You can use the dripped Mineral Spirits if you plan to re-grip other clubs.
The Mineral Spirits are cheap alternatives to grip solvents. The chemical dries quickly: It also lubricates two-sided tapes allowing a smooth sliding of a new grip, and adheres to it in minutes.
6. Slide Grip into Place.
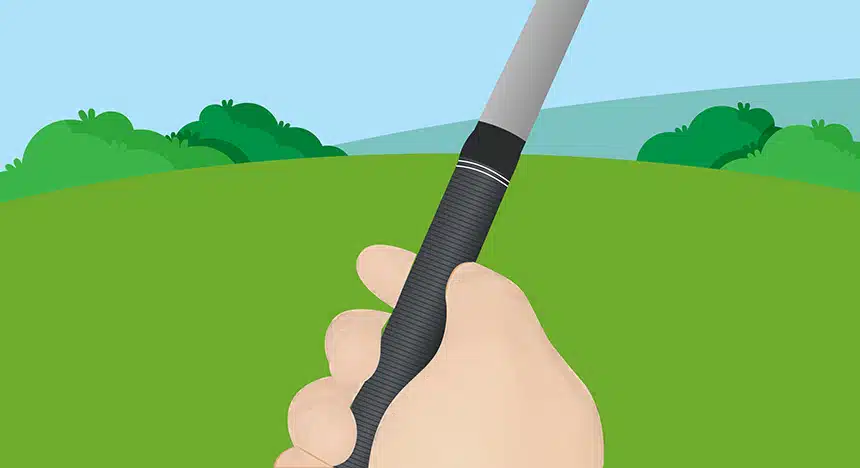
Once the Mineral Spirits on the entire length of the grip tape is applied, you can install the grip next. Do the sliding while the shaft is still clamped to the vise to keep it from moving. Do it quickly as the solvent will slowly dry up any time.
Align the mouth of the grip over the butt shaft: Then slide or pull down the grip smoothly into the rod (with the alignment pattern up). While pulling, you can squeeze the open end of the grip with a cloth to catch the excess solvent on the cap.
Ensure that the shaft’s end settles onto the end of the grip. Check the alignment while the solvent is still wet. The new grip and the clubface should square off: Also, the grip’s logo and texture should be perpendicular to the clubface.
When everything seems alright, wipe the excess solvent on both ends of the grip. Remove the shaft from the vise grip: Then give the butt a few pounding on a leveled floor to ensure the cap seats correctly. Wipe off any excess solvent.
Allow it to dry completely for about 2-3 hours before using the club.
7. Done: You Can Go Out and Play as You Wish!
Once the grip is dried: you can head to your favorite golf course or a practice range using your newly gripped club!
Alternative method: Using Compressed Air instead of Grip Solvent
Now we come to another way of re-gripping your club without using solvents. You can use compressed air right after finishing Steps 1 to 3 above.
So, your next step will be securing a compressed air source. Installing a new grip into your club using compressed air will probably take several seconds. That is how quick it is! Besides you do not need drying, as solvents require.
Here is how to do it.
Put the mouth of the grip into the butt end of the club’s shaft. Attach the air compressor’s fitting at the other end of the grip. When the grip aligns with the golf shaft, turn the air supply. Push or slide the grip into the pole while the pressurized air expands the grip. The expansion will allow you to slip the grip over the tape smoothly.
Here is a quick video on how to re-grip golf clubs using an air compressor:
FAQs
Is it easy to re-grip your own clubs?
Yes, it is too easy re-gripping your golf clubs even at home. If you do not have a vise grip: you can do it effortlessly, too: Watch the video below showing re-gripping golf clubs without using a vise grip; All you need are a grip tape, a hooked knife or a rigid cutter, and grip solvents.
You can even ditch out using liquid Mineral Spirits (solvents) if you do not want chemicals. But you must have compressed air to do it like what we have shown above. Once you become more familiar with the procedure, you can do the process in just minutes. It can also save you a lot of money from hiring someone to do the job.
What solvent can you use to re-grip golf clubs?
One of the cheapest golf grip solvents is the Essential Values Golf Grip Kit [4]. It comes in a plastic bottle that works great in drivers, putters, irons, or woods. The solvent is from the U.S.A., so you are assured of its quality.
Another better alternative is the Brampton HF-100 Golf Grip Tape Solvent. It comes in a spray bottle in different sizes (4-8-32Oz. sprayer). The solution is non-toxic (pets & kids-friendly) and non-flammable like the Essential brand.
Do you have to remove old tape when re-gripping golf clubs?
Yes, it is essential to remove the old tape! Removing the old tape in re-gripping your golf club is crucial. If you do not remove the old tape: the newly installed grip will become bulky or may sag over time.
Can you re-grip golf clubs without tape?
Yes! You can re-grip them (golf clubs) without using grip tapes [6]. It is by using compressed air. One of the advantages of using air compressor in re-gripping clubs is its ease of use. It is also a non-tedious work compared to solvent and tape technique.
Conclusion
The grip is your best defense in attaining a good performance on the golf course. It is only proper keeping the clubs’ grip always in top shape. But learning how to re-grip golf clubs is as simple as tying your shoe laces.
You can do it in the comfort of home because there are available re-gripping kits online. The process is so easy and less expensive when doing it yourself. You save a lot of precious dollars, while enhancing the customization of your clubs.
There are also various selections of golf grips you can order online without sacrificing your golf skills.

